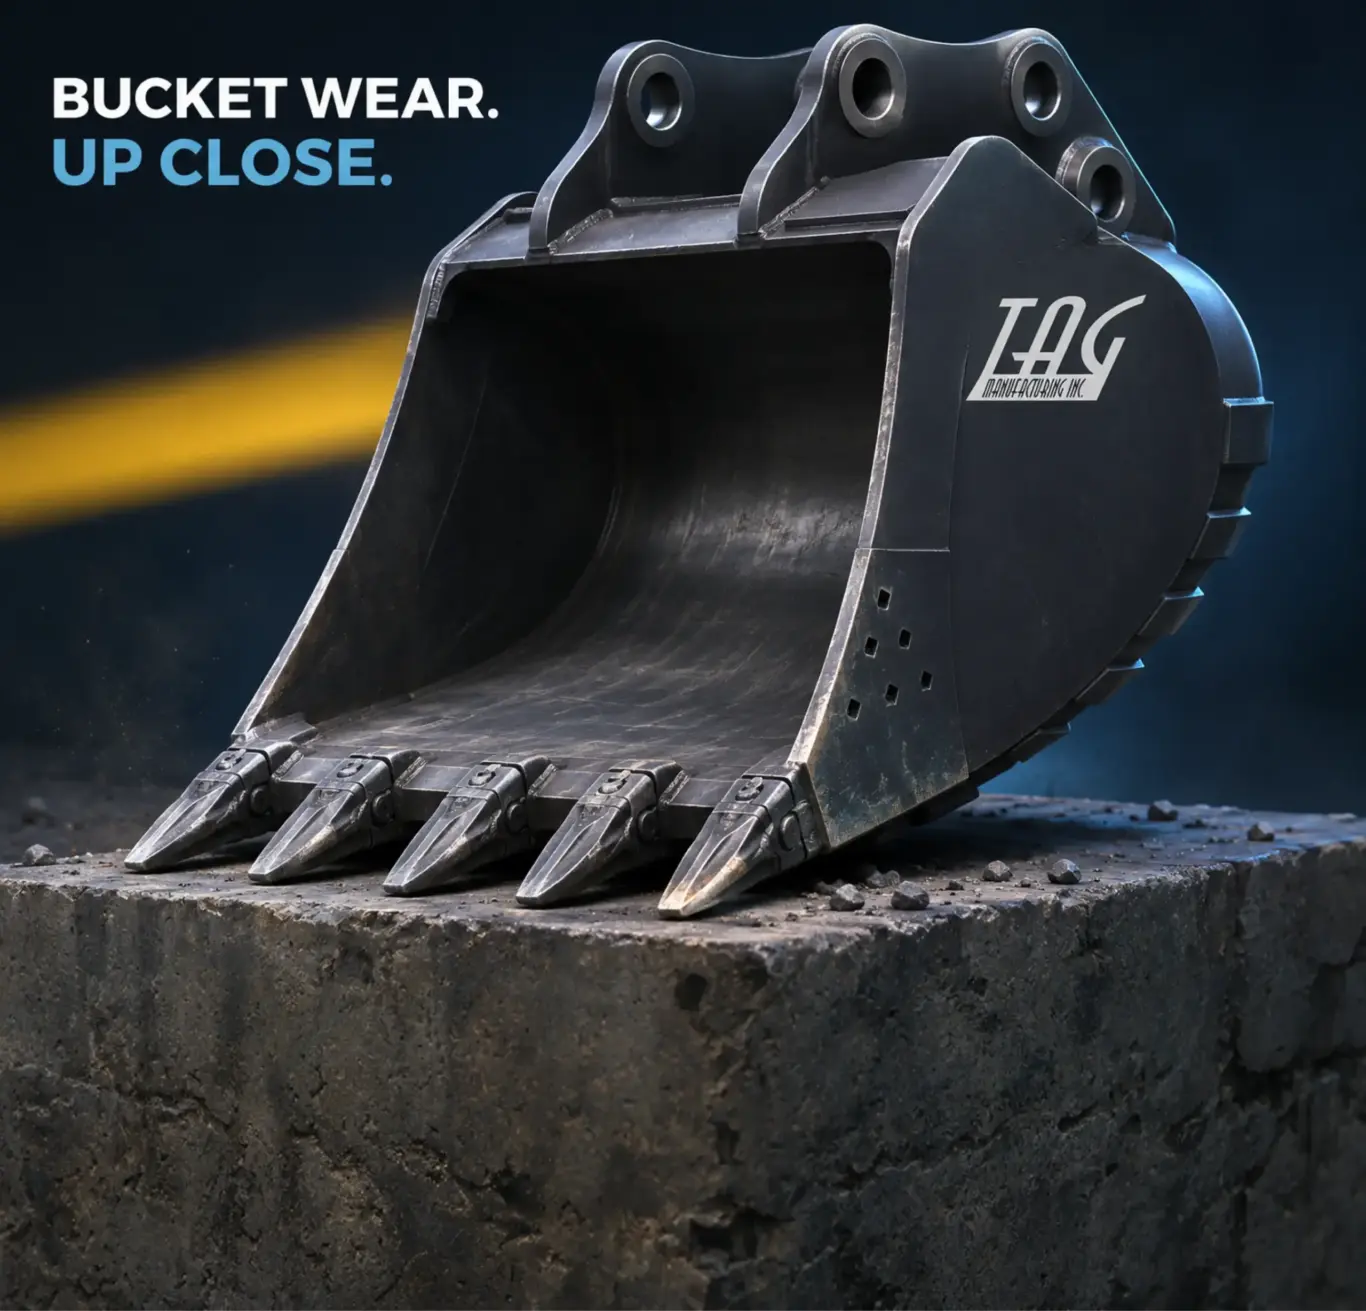
Excavator buckets wear out in three ways. Abrasion grinds steel off the teeth, the lip, the heel and the sides every time the bucket drags through ground. Impact cracks welds and bends ears when the bucket hits rock, slams a truck bed or gets pried sideways. And pin-bore wear loosens the bucket on the stick until it rattles.
A well-designed bucket puts the fastest-wearing steel in parts you can replace, so the bucket wears down instead of the frame behind it. Our excavator bucket guide covers duty classes and bucket types from the top down. This post goes the other direction: it starts with the steel that touches the ground and works back to the pins.
If you know which parts are meant to be sacrificial, you can replace them on schedule and get several wear cycles out of one bucket. If you don’t, a worn tooth exposes an adapter, a worn edge exposes the lip, and a bucket that could have been saved for a few hundred dollars becomes scrap.
What actually wears a bucket out?
Three things: abrasion, impact and pin wear. Abrasion is slow and predictable. Impact is sudden and usually traces back to how the bucket was used. Pin wear comes down to hours, grease and side load, and most buckets that “wore out early” died of a mix of all three.
Abrasion is the ground sanding the bucket. Every pass, the teeth punch in, the edge shears material, the heel drags across the floor of the cut, and the sides rub the trench walls. Silica sand, shot rock, crushed concrete and compacted clay with gravel in it are the worst. Topsoil and loam are mild.
Impact is the bucket hitting something harder than itself: rock, rebar in rubble, a truck bed, the stick when curled back too far. Impact doesn’t remove much steel. It cracks welds, bends ears and distorts the lip. A cracked weld lets the structure flex, and a flexing structure cracks faster.
Pin-bore wear is the slowest and the most ignored. The bucket hangs off two pins through the ears, in bores machined to fit closely. Dirt gets in, grease gets pushed out, and the bores egg out. Once the bucket can move on its pins, every impact is amplified by the slop and the machine’s own pins start wearing too.
Here’s the design principle to hold onto. The parts that meet abrasion and impact first should be replaceable wear parts, not the structural shell. Teeth, edges, side cutters, wear strips, side wear plates and heel protection are consumables; the shell, the ears and the internal reinforcement are not. When a bucket is designed right and run right, the consumables wear and the structure doesn’t.
Which parts wear first? A tour of the wear zones in the order they go
The usual order is teeth, then cutting edge, then side cutters, then heel and bottom, then side plates, then ears and pin bosses, then welds. The order shifts with ground and operator, but the pattern holds because each zone shields the one behind it.
Teeth and adapters
Teeth go first because they do the most work per square inch. They concentrate the machine’s breakout force onto a few points so the bucket can penetrate ground a flat edge would skid across. That concentration is exactly what wears them. Sand and gravel grind them short and round; rock chips them and snaps the tips.
Behind each tooth sits an adapter, welded to the lip, with a pin or retainer that holds the tooth on. If the tooth wears far enough that ground hits the adapter nose, a ten-minute pin swap becomes cutting and welding.
Cutting edge and lip
The cutting edge, or lip, is the plate across the front of the bucket that the teeth mount to. It shears material between the teeth and takes the full width of the cut. In sandy and gravelly ground it wears from the bottom, thinning until it rounds over and stops cutting cleanly.
A rounded edge forces the operator to push harder for the same bite, and that extra force shows up as fuel, cycle time and stress on everything behind the edge. On a bolt-on edge, you unbolt, flip or replace. On a welded lip, the fix is a shop job.
Side cutters
Side cutters are the plates at the front corners of the bucket, running up from the lip. They cut the trench walls, keep the bucket sides out of the ground and take the hit when an operator pulls sideways to widen a trench.
They’re also the part most people forget to look at. A side cutter worn flush with the shell is no longer protecting anything. From that point on, the shell is cutting the trench wall.
Heel and bottom
The heel is the rear corner of the bucket floor, where the bottom meets the back wall. It drags on the floor of the cut every time the operator curls and lifts.
Bottom wear is the one most likely to end a bucket, because a thin floor means a weak bucket. Wear strips, heel protectors and double bottom shells all exist to keep the ground off the structural floor.
Side plates
Side plates are the outside walls of the bucket. They rub the trench walls and take the side load when an operator pries or sweeps. In narrow trenches and rock they wear from the outside; in sand, from the inside at the corners.
Side wear plates are a second layer over the structural side. With them, the plate wears and the structural side stays intact. Without them, side wear is shell wear.
Ears and pin bosses
The ears are the two upright plates at the top rear of the bucket that carry the pins. Pin bosses are the thickened rings around the bores. They don’t see much abrasion. What they see is side load and impact, which bend them, and pin movement, which eggs out the bores.
Bent ears are almost always an operator problem: the bucket was used as a lever and the force came through sideways. Egged bores are a grease and hours problem. Both need a shop that can cut, line-bore and weld.
Welds
Welds crack last, and when they do it usually means something in front of them already failed. A cracked weld at the base of an ear means the ear was overloaded. A crack where the side meets the floor means the floor has thinned or the bucket has been prying.
What each wear part does, and when do you replace it?
Replace teeth at roughly 40 to 50 percent length loss and always before wear reaches the adapter. Replace cutting edges at about 70 to 75 percent of original thickness. Replace side cutters before they wear flush with the shell. Those thresholds come from an industry guide to bucket teeth published by Construction Equipment.
The logic behind each is the same: replace the cheap part while it’s still protecting the expensive one.
Teeth. A tooth at half its original length has lost most of its penetration profile and the adapter nose is getting close to the ground. A pin swap now costs a set of teeth. Waiting until the adapter is exposed costs teeth, adapters and a welder.
Tooth profile matters as much as timing. The same guide lists the common profiles:
- General purpose: balanced penetration and wear life for mixed ground
- Penetration or “tiger”: narrow and pointed for compacted clay and frozen ground
- Rock: blunt and heavy for shot rock and rubble
- Abrasion: extra steel on the wear faces for sand and gravel
- Twin-tiger and wide or ditching: specialty work
If you’re burning through general purpose teeth in sand, try an abrasion profile.
Cutting edges. An edge at three-quarters of its original thickness is still cutting. Below that, it rounds over fast and the wear rate accelerates. Replace a bolt-on edge, or flip a reversible edge at the halfway point so both faces wear evenly.
Side cutters. The threshold is visual. If the side cutter still stands proud of the shell, it’s working. If it’s flush, the shell is cutting.
Wear strips, heel protectors and side wear plates. These are sacrificial by definition. Replace them when they’re thin, not when they’re gone. A wear strip worn through in the middle has already let the ground reach the floor plate under it.
The guide also puts rough numbers on the economics. A full wear kit (teeth, edge, side cutters) runs from several hundred to a couple thousand dollars depending on size. A new bucket makes sense when repair cost passes 40 to 50 percent of replacement, when the shell has lost more than a quarter inch, or when structural welds are cracking. And it cites one published example where a $400 edge replacement that was put off became a $12,000 bucket replacement.
How does TAG design buckets to wear where you can replace them?
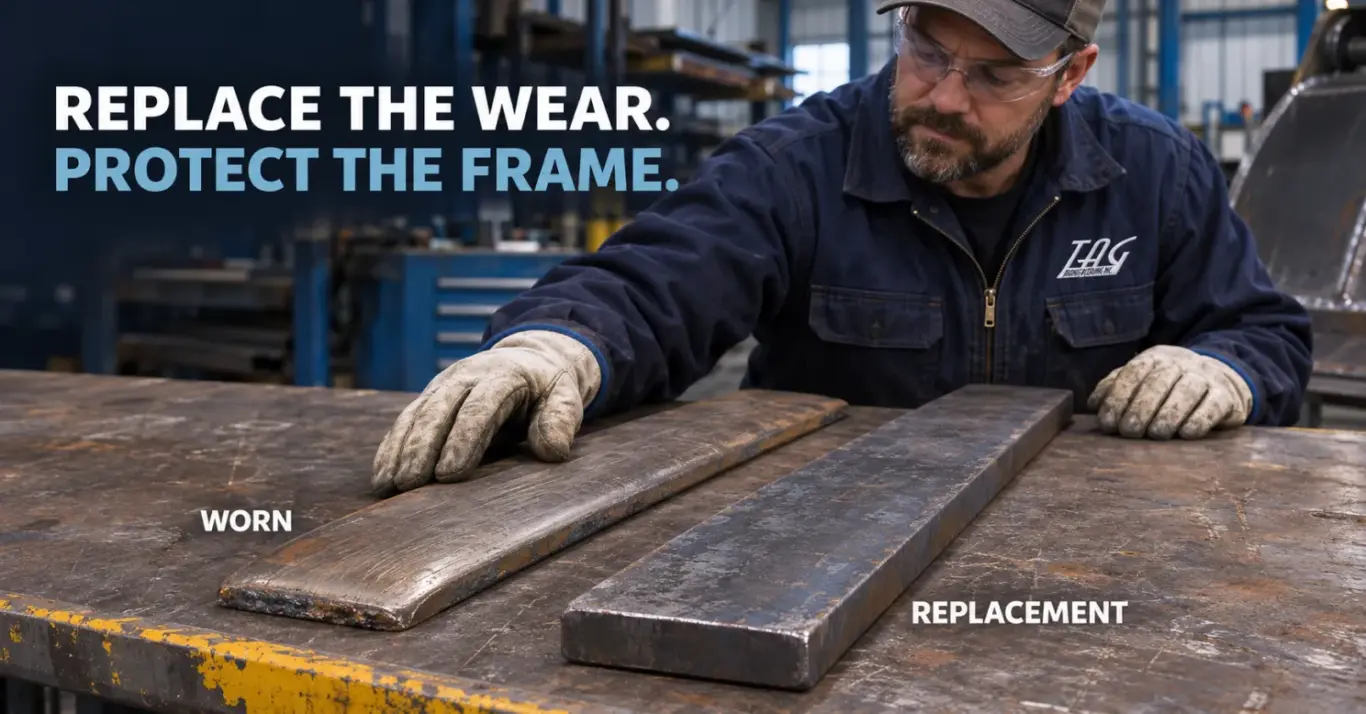
We build the bucket so the ground meets replaceable steel first and structural steel last. That shows up as double bottom shells, internal triangle reinforcements, full side wear plates, full-width replaceable transverse wear strips and extended bucket ears, depending on the duty class. Each maps to one of the wear zones above.
Double bottom shells. Both our Heavy Duty buckets and Severe Duty buckets are built with double bottom bucket shells. The outer shell takes the abrasion from the heel and floor; the inner shell carries the structural load. When the outer shell wears, it hasn’t touched the inner one. That’s the difference between a bucket that wears thin and one that wears down a layer at a time.
Internal triangle reinforcements. Inside the shell, triangular reinforcements tie the floor to the sides and the back. They stiffen the bucket against the twisting loads from prying and side-loading that crack welds and bend ears on a lighter bucket. They’re standard on the Heavy Duty line and larger on the Severe Duty line.
Full side wear plates. On our Severe Duty buckets, the entire side of the bucket is covered by a wear plate. The trench wall rubs the wear plate, not the structural side, and when the plate is thin you replace the plate. This line is built for mini and compact excavators in rock, concrete rubble and compacted clay, where a standard-duty bucket wears out fast.
Full-width replaceable transverse wear strips. Across the bottom of the Severe Duty bucket, wear strips run the full width of the floor. They take the heel and floor abrasion, and they’re replaceable. The floor plate under them stays out of the ground. This is the direct answer to the heel-and-bottom zone.
Extended bucket ears. The Severe Duty ears are extended, which puts more steel around the pin bosses and spreads side load over a larger weld. That addresses the ears-and-pin-bosses zone and the weld cracking that follows.
The Severe Duty design intent says it plainly: the bucket wears down instead of the frame behind it. [TAG to confirm: typical wear strip and side plate thickness by bucket width class]
A note on AR450. Our Mass X bucket uses AR450 plate in key areas for improved wear life. AR grades are Brinell hardness classes. According to a steel supplier’s overview of AR400 versus AR500 grades, AR400 is around 400 BHN, AR450 sits above it, and AR500 above that. Harder plate resists abrasion better but is harder to form and weld, so putting AR450 in the wear areas and milder steel in the structure gets hardness where the ground is and weldability where the welds are. [TAG to confirm: which areas of the Mass X carry AR450 plate]
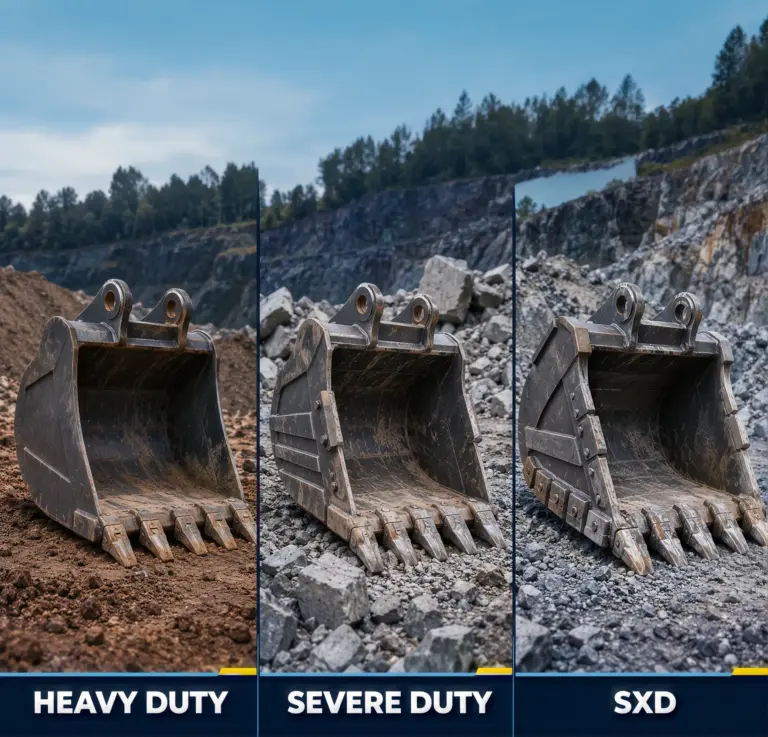
For how the Heavy Duty, Severe Duty and SXD lines differ, including the SXD’s replaceable heel protectors and vertical shrouds, see our duty class comparison.
Which operator habits eat buckets?
Four habits do most of the damage: side-loading, prying with the corner, curling into the stick at full breakout, and dragging a worn edge. None of them are abrasion. All of them are impact and overload, which shorten a bucket’s life faster than the ground does, and manufacturers exclude them as misuse.
Side-loading. Swinging the machine with the bucket in the ground to widen a trench or push material sideways puts the load across the ears instead of through them. The ears, pin bosses and ear welds take a bending force they weren’t designed for. This is how ears bend and egged bores get started. If you need to widen the trench, take another bite.
Prying with the corner. Using one corner of the bucket as a pry bar to pop a rock or a root twists the whole bucket. One side cutter and one ear take all the force. The side cutter cracks, the ear bends, and the side-to-floor weld on that corner opens up. Use the full width of the lip or use a ripper.
Curling into the stick at full breakout. Curling the bucket all the way back with the machine pushing at full breakout drives the bucket into the stick or the link. The back wall and the top of the ears take an impact every time. On a mini excavator this is easy to do without noticing, and it shows up later as cracks at the top of the back wall.
Dragging a worn edge. A rounded edge doesn’t cut, it plows. The operator pushes harder, the heel drags under more down-pressure, and the whole bucket wears faster. Replacing the edge at the 70 to 75 percent threshold stops this.
A fifth habit is the bucket as a hammer. Tamping backfill with the bucket floor or banging it on the truck bed to shake out clay loads the floor and ears with impact they don’t need. [Engineering review required]
Wear zones at a glance
| Wear zone | What you’ll see | Replace or repair | Cost of waiting |
|---|---|---|---|
| Teeth | Shortened, rounded or chipped tips | Replace at 40–50% length loss, before wear reaches the adapter | Exposed adapter; cutting and welding instead of a pin swap |
| Cutting edge / lip | Edge thinned from the bottom, rounded over, plowing | Replace or flip bolt-on edge at 70–75% thickness; welded lip is a shop job | Slower cycles, faster heel and side wear; lip wear becomes structural |
| Side cutters | Leading edge worn back; cutter flush with the shell | Replace before flush | Shell cuts the trench wall; structural side thins and cracks |
| Heel / bottom | Wear strips thin or worn through; grooved floor plate | Replace wear strips and heel protectors while they have thickness | Floor wears through; bucket flexes, welds crack |
| Side plates | Wear plates thin at the corners; grooves along the trench-wall line | Replace side wear plates before they breach | Structural side takes the abrasion; becomes a shell repair |
| Ears / pin bosses | Pin slop; egged bores; ears out of parallel; cracks at the ear base | Line-bore and bush; straighten or replace bent ears | Slop amplifies every impact; machine pins wear too |
| Welds | Hairline cracks at ear base, side-to-floor joint, back wall | Grind out to the crack ends, find the cause, weld with proper prep | Cracks run; patching over a live crack hides the cause |
How to read this table: the left column is in the order the zones usually fail. If a zone further down is showing wear, check the zones above it first, because something in front has probably worn through.
The weld row deserves one more sentence. A repair shop’s guide to assessing worn buckets, Pratleys, lays out the inspection order: clean first, measure plate thickness, mark the ends of every crack, check edge alignment, check pin bores and bosses. Its point about cracks is the one that saves buckets: welding a patch over a crack that hasn’t been ground out doesn’t fix it. The crack keeps running under the patch.
For a checklist you can walk around a bucket with in ten minutes, our bucket inspection checklist covers all seven zones with what to measure and what to photograph.
Where does the warranty line sit?
Normal wear is not covered. Defects in material and workmanship are, for one year from the original purchase date. That’s the line on every bucket we sell and at most manufacturers. Teeth, edges, side cutters, wear strips and wear plates are expected to wear, and wearing is not a defect.
What the TAG warranty does cover is the structure and the workmanship behind it. If a weld fails without an impact or overload cause, or a part was built wrong, that’s a warranty conversation, with liability limited to repair or replacement of the defective part.
The exclusions follow the operator-habits list above almost line for line: mishandling, abuse, misapplication, misuse and unauthorized field modification. A bent ear from side-loading or a split back wall from curling into the stick is damage, not a defect. So is running a Heavy Duty bucket in ground that calls for Severe Duty, which is misapplication.
One process detail matters more than people expect. Get written approval from TAG, or from an authorized TAG rep who has inspected the attachment, before any repair, and document everything with digital photos first. A bucket repaired before anyone from TAG has seen it is hard to assess, because the evidence of what failed is gone. Downtime and consequential damages are not covered, so call early.
For a walkthrough of the claim steps and what to photograph, see our guide to how attachment warranty claims work.
The decision rules, in short
If your teeth are rounding fast and the adapters are fine, you’re in abrasive ground with the wrong tooth profile. Switch profiles before you switch buckets. If your edge keeps thinning and the heel is grooved, your floor protection is undersized for the ground; on a mini or compact machine in rock, rubble or compacted clay, that’s the case for a Severe Duty bucket.
If your ears are bending and your welds are opening at the corners, look at the operator before the bucket. If the pins are sloppy, grease on schedule, bush the bores and check the machine pins too.
And if the shell has lost more than a quarter inch anywhere, or the structural welds are cracking, the bucket is past the point where wear parts help. Price the repair against a new bucket and apply the 40 to 50 percent rule.
Fast. Rugged. Reliable. A bucket earns that by wearing where it’s supposed to.
Frequently asked questions
How do I know when to replace excavator bucket teeth?
Replace teeth when they’ve lost about 40 to 50 percent of their original length, and always before wear reaches the adapter nose. A tooth at half length has lost most of its penetration profile and is digging with more force. Once the adapter is exposed to the ground, the repair goes from a pin swap to cutting and welding adapters. Check teeth at every greasing and compare them to a new one.
What is the cutting edge on an excavator bucket?
The cutting edge, or lip, is the plate across the front of the bucket that the teeth mount to. It shears material between the teeth and takes the full width of every cut. It wears from the bottom until it rounds over and plows instead of cuts. Industry guidance is to replace or flip a bolt-on edge at about 70 to 75 percent of its original thickness, before the wear rate accelerates.
What do bucket side cutters do?
Side cutters are the plates at the front corners of the bucket that run up from the lip. They cut the trench walls, keep the structural sides out of the ground and take the hit when the bucket is pulled sideways. Replace them before they wear flush with the shell. Once they’re flush, the shell is cutting the trench wall, and that wear is structural rather than sacrificial.
Why do excavator bucket ears bend?
Ears bend from side load, not from digging. Swinging the machine with the bucket in the ground, prying with one corner, or curling the bucket into the stick at full breakout all put force across the ears instead of through the pins. Bent ears are usually an operator issue and are excluded from manufacturer warranties as misuse. Extended ears, like those on TAG Severe Duty buckets, spread that load over more steel and weld.
What are wear strips on an excavator bucket?
Wear strips are replaceable steel strips on the bottom of the bucket that take the heel and floor abrasion so the structural floor plate doesn’t. On TAG Severe Duty buckets they run the full width of the floor and bolt or weld on. Replace them while they still have thickness, not after they’ve worn through, because a worn-through strip has already let the ground reach the plate beneath it.
Does the warranty cover a worn-out bucket?
No, normal wear is excluded from the TAG warranty, as it is at most manufacturers, and teeth, edges, side cutters, wear strips and wear plates are consumables. What the one-year warranty does cover is defects in material and workmanship, with liability limited to repair or replacement of the defective part. Damage from abuse, misuse, misapplication or unauthorized field modification is also excluded. Get written approval before repairing anything you plan to claim.
What does AR450 mean on a bucket?
AR450 is an abrasion-resistant steel grade named for its approximate Brinell hardness. AR400 is around 400 BHN, AR450 is harder, and AR500 harder still. Harder plate resists abrasion better but is harder to form and weld. TAG uses AR450 plate in key wear areas of the Mass X bucket, which puts the hard steel where the ground is and more weldable steel where the structure is.